Phase 1: Duct Collar Kit
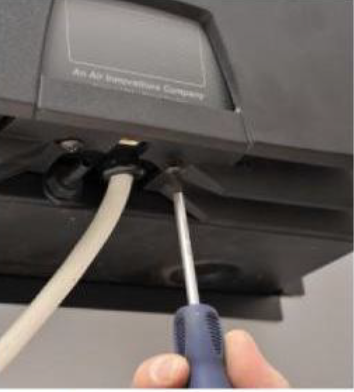
- Remove the two screws located at the bottom of the condenser side cover panel.
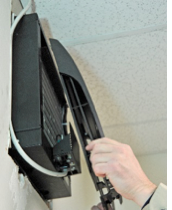
- Pull the panel out and down away from the Through-the-Wall (TTW) assembly.
- Place the panel on a soft surface, a piece of foam or towel so as to not mar or scratch the panel face.
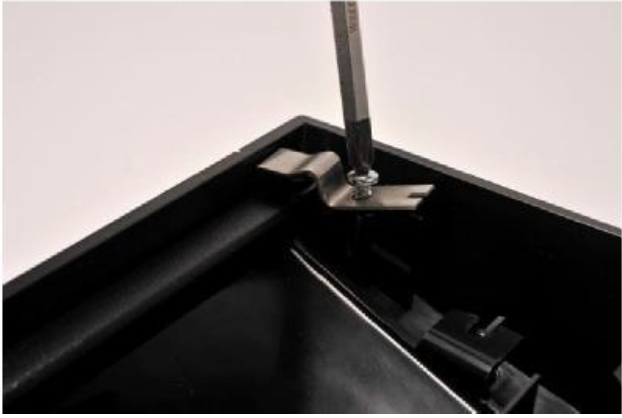
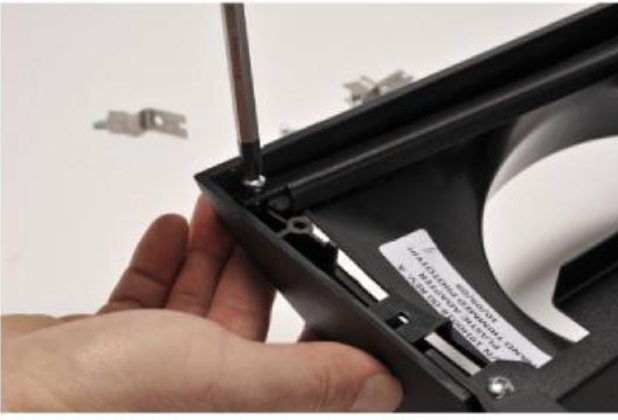
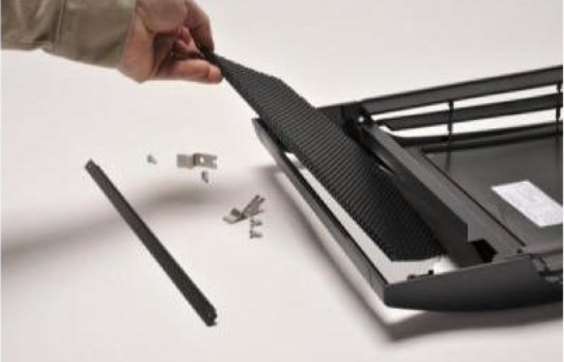
- Remove the four (4) screws, metal brackets and clips as shown making note of their location and orientation.
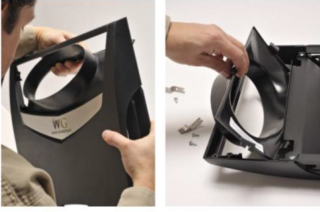
- Remove the diffuser panel by pushing the panel in from the face of the cover panel.
- Insert the duct collar by carefully inserting the bottom tabs into the plastic slots located at the base of the opening as shown.
- Slip the oval portion of the duct collar through the opening until the duct collar flange site is flush with the inside of the cover panel. Please note, you may need to slightly squeeze down the oval portion of the duct collar in order to clear the opening.
- Re-install the brackets and clips removed in step 4 and fasten each securely using the original hardware.
- Re-install the condenser side cover panel by slipping the top clips onto the top flange area of the TTW aluminum frame. Ensure the metal clips are engaged with the frame and are secure. Failure to do so may result in damage to the cover or improper sealing of the cover panel.
- Re-install the two screws at the base the cover panel.
Phase 2: Install Ductwork Kit
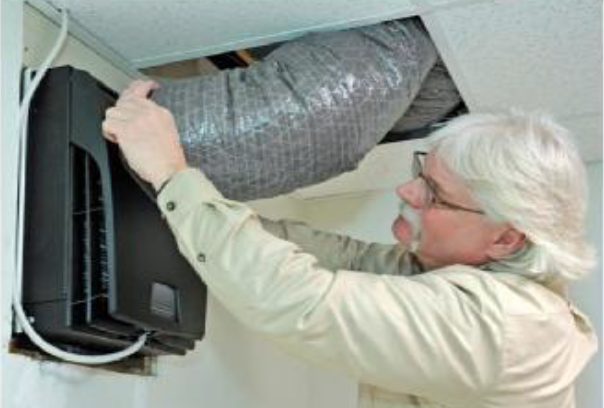
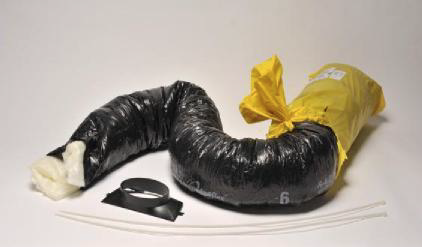
- Pull back the outer layer of insulation and plastic sheathing from the flexible ductwork provided to expose the inner layer of 6”round ductwork.
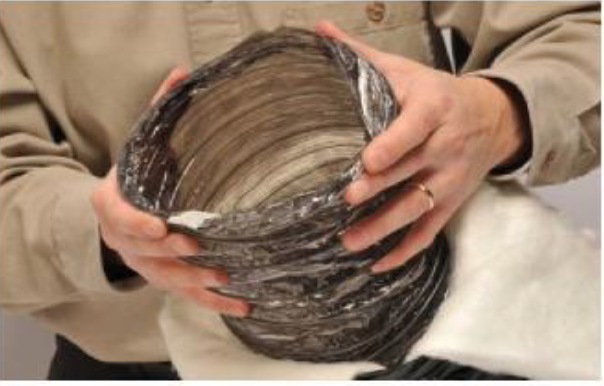
- Attach the ductwork to the duct collar at the TTW system by squeezing slightly to form an oval shape. Slip the ductwork over the plastic duct collar and hold in place.
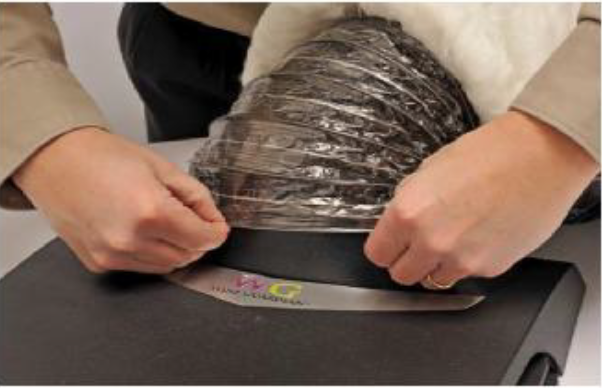
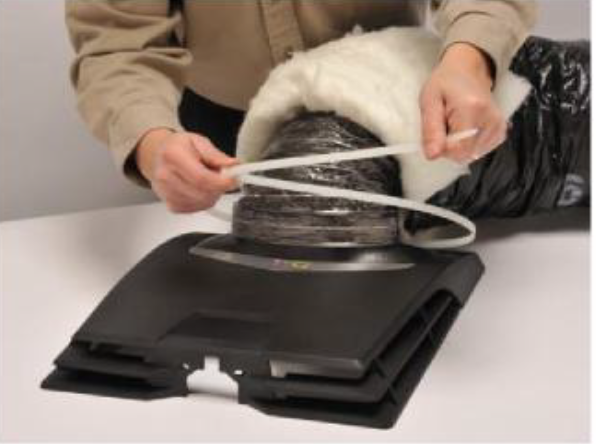
- Install a plastic tie wrap around the flexible ductwork at the base of the oval duct collar and tighten.
- Install a second plastic tie wrap (if needed) to securely fasten the flexible ductwork to the plastic collar.
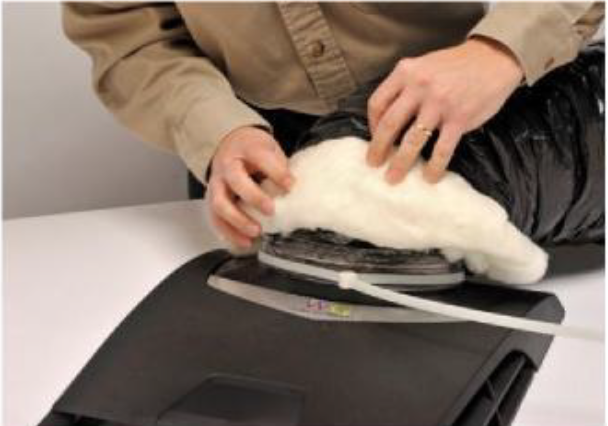
- Slide the insulation back down over the duct collar assembly to cover the internal ductwork and duct collar.
- Extend flexible ductwork from TTW system to another room, outside of structure or an alternative location.